Flooring Installation A Guide to Perfectly Laid Floors
When it comes to home renovations or construction, the flooring installation process is often a significant part of transforming a space. The type of floor you choose can dramatically affect the overall aesthetic and functionality of a room. Whether you’re replacing old flooring or installing new floors for the first time, understanding the steps involved in flooring installation is crucial to achieving a polished and professional look.
Choosing the Right Flooring
Before diving into the installation process, the first step is to choose the right type of flooring for your needs. There are a variety of flooring options available, each with its own unique advantages and considerations. Some of the most popular flooring types include:
Hardwood Flooring: Known for its timeless beauty, hardwood is a top choice for many homeowners. It adds warmth and character to any room but requires regular maintenance to keep it looking pristine.
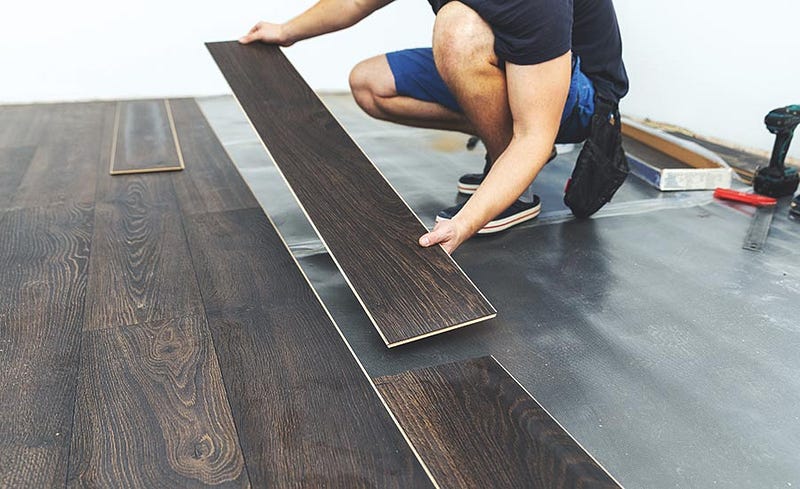
Laminate Flooring: This cost-effective alternative to hardwood offers a similar aesthetic without the hefty price tag. It’s durable, scratch-resistant, and easy to clean.
Vinyl Flooring: Available in a wide range of styles and colors, vinyl is both water-resistant and affordable. It’s a great option for kitchens, bathrooms, and other high-moisture areas.
Tile Flooring: Ceramic and porcelain tiles are popular for their versatility and durability. They’re particularly suitable for bathrooms and kitchens, where water resistance is important.
Carpet: Soft and comfortable, carpet is perfect for bedrooms and living areas. However, it requires more maintenance compared to other flooring types.
The best choice depends on factors such as your budget, room function, desired look, and long-term durability.
Preparation for Installation
Once you’ve selected the flooring type, it’s time to prepare the space for installation. Preparation plays a crucial role in ensuring that the installation goes smoothly and the floor is properly laid. Here are some key steps to take:
Clear the Area: Remove all furniture and other obstacles from the room to create a clear workspace.
Subfloor Check: Make sure the subfloor (the surface beneath the flooring) is level, clean, and free from any moisture. Uneven or damaged subfloors can cause issues during installation and lead to uneven floors.
Acclimate the Flooring: Some flooring types, like hardwood and laminate, should be acclimated to the room temperature and humidity before installation. Allow the flooring to sit in the room for 48 to 72 hours so it can adjust.
The Installation Process
Flooring installation varies depending on the material, but there are some general guidelines that apply to most types:
Measuring and Cutting
Accurate measurements are essential for a perfect fit. Measure the length and width of the room to determine how much material you’ll need. When working with planks or tiles, you may need to cut them to fit around corners or edges. Use a saw for wood and laminate, or a tile cutter for ceramic or porcelain tiles.
Laying the Flooring
Start laying the flooring along the longest wall or center of the room, working your way toward the edges. Ensure there is a small gap between the floor and the walls (typically ¼ inch) to allow for expansion. Many flooring options, like laminate and vinyl, are designed for easy click-lock installation, while others may require adhesive or nails.
Finishing Touches
Once the floor is laid, you may need to install baseboards or trim to cover the expansion gap and give the floor a clean, finished look. If necessary, apply any finishing treatments or sealants to protect the floor and enhance its longevity.
Conclusion
Flooring installation Qatar is a satisfying DIY project that can completely transform the look and feel of a room. Whether you choose hardwood, laminate, vinyl, tile, or carpet, the right flooring can elevate your home’s aesthetic while offering lasting functionality. Take your time in choosing the material, prepare the space properly, and follow the installation steps carefully to achieve flawless results. Whether you’re a first-time installer or a seasoned pro, with the right tools and knowledge, you can successfully install your own floors and enjoy the beauty they bring to your home.

Comments
Post a Comment